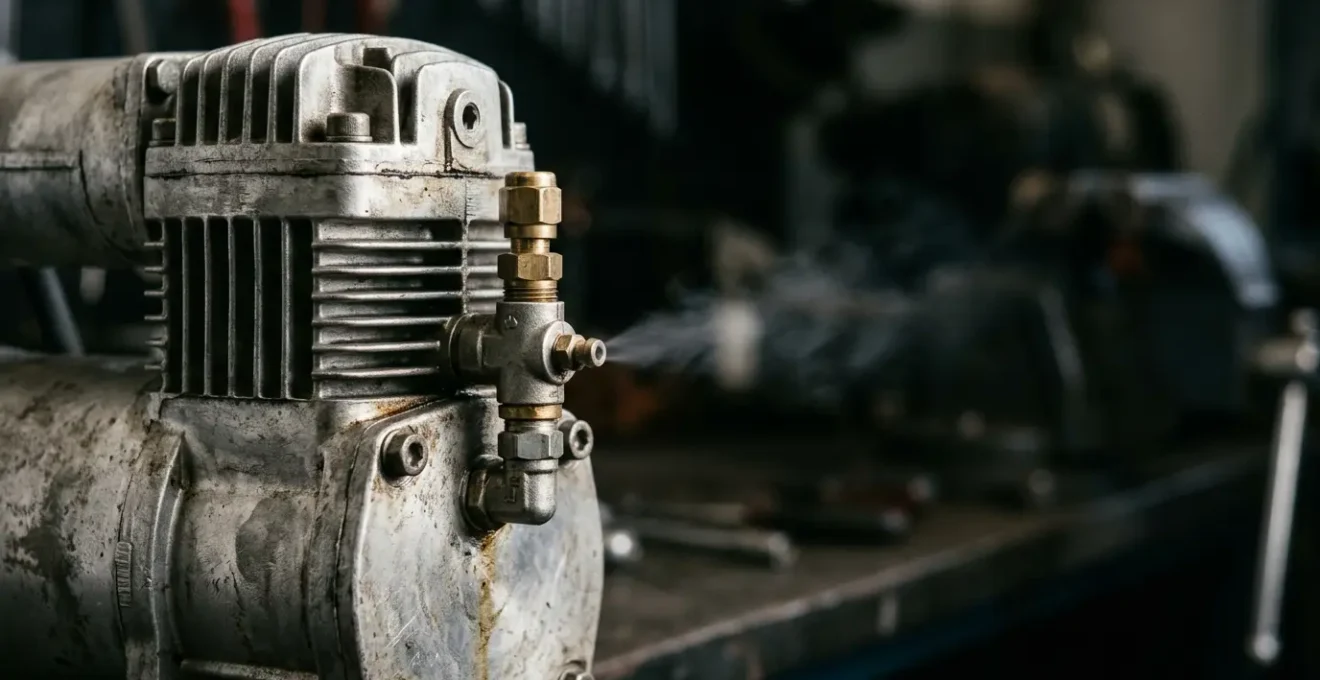
That subtle overnight sag on your Land Rover or Mercedes isn’t just a cosmetic issue; it’s the first symptom in a chain of failure that inevitably leads to a seized, burnt-out air compressor. Driving with a slow leak forces the compressor into a state of constant overrun, contaminating the entire system with moisture and guaranteeing a catastrophic, multi-thousand-dollar repair bill. The key isn’t just finding the leak with soapy water—it’s understanding the systemic damage happening in the background and taking immediate diagnostic action to save the heart of your suspension.
You walk out to your car in the morning and notice it immediately: one corner, or perhaps the entire vehicle, is sitting lower than you left it. For a Land Rover or Mercedes-Benz owner, this familiar « overnight sag » is more than an annoyance; it’s a critical distress signal from your air suspension system. The common response is to assume a simple leak in an air spring and perhaps postpone the repair. This is a catastrophic mistake. While it is true that you can technically drive with a minor leak, doing so initiates a destructive countdown. The real danger isn’t the leak itself, but the slow, silent execution of your air compressor.
Most advice focuses on the obvious: find and replace the leaking component. But this approach misses the bigger picture. A slow leak is the start of a chain of failure. It forces your compressor to run excessively, far beyond its designed duty cycle, to compensate for the constant loss of pressure. This compressor overrun doesn’t just wear out the pump; it generates heat and draws in humid air, leading to widespread systemic contamination with moisture. This moisture wreaks havoc, causing valve blocks to stick, desiccants to fail, and lines to freeze in winter.
This guide reframes the problem. We will move beyond the basic soap-and-water test to explore the diagnostic blind spots that most owners and even some shops overlook. The goal is to shift your mindset from merely reacting to a sag to proactively managing the health of your entire air suspension system. By understanding the interconnected nature of these failures, you can intervene before a simple air spring issue cascades into a stranded vehicle and a bill that includes a new compressor, valve block, and relay.
To navigate this complex system and prevent costly failures, this article breaks down the critical diagnostic and decision-making points. The following sections will guide you through understanding hidden restrictions, preventing seasonal damage, evaluating repair options, and knowing when a strategic retreat from air suspension is the smartest financial move.
Summary: How to Detect a Slow Air Suspension Leak Before the Compressor Burns Out?
- Why Your Car Raises Slowly Even with a New Compressor?
- How to Prevent Air Suspension Freeze-Ups During Sub-Zero Nights?
- Arnott vs. OEM Air Springs: Is the Lifetime Warranty Worth the Price Difference?
- The Towing Mistake That Ruptures Air Bags on Flatbed Trucks
- When to Abandon Air Suspension: The Break-Even Point for Conversion Kits?
- How to Recalibrate Ride Height Sensors if Your Car Leans to One Side?
- Hydraulic vs. Electric Column Retrofit: Which Retains Better Road Feel?
- Electronic Shocks vs. Passive Delete Kits: Which Is the Smarter Repair for Old Cars?
Why Your Car Raises Slowly Even with a New Compressor?
You’ve identified a failed compressor, spent the money to replace it, and yet the problem persists: your vehicle still rises with agonizing slowness. This frustrating scenario is rarely due to a faulty new compressor. The root cause is almost always a restriction somewhere else in the system that is starving the new pump of air or blocking its output. The old compressor didn’t just die; its death throes likely contaminated the system, leaving behind a legacy of blockages.
The most common culprit is the air dryer. When a compressor is forced to run constantly, the desiccant beads inside the dryer become super-saturated with moisture. They break down from a granular form into a thick, restrictive paste that clogs the airline. Other failure points include a clogged compressor intake filter, a faulty relay providing insufficient voltage, or malfunctioning solenoids in the valve block that don’t open fully. Your new compressor is trying to breathe through a straw, drastically reducing its efficiency and putting it on the same path to premature failure as its predecessor.
A healthy compressor should be able to lift the vehicle within a specific timeframe, typically running for 30 seconds to 1 minute with a rest period in between. If it’s taking significantly longer, the suspension control module may interpret this as a fault and disable the pump to prevent overheating—a self-preservation measure that leaves you with a slow-to-rise vehicle. Diagnosing these restrictions is paramount to protecting your investment in the new compressor.
How to Prevent Air Suspension Freeze-Ups During Sub-Zero Nights?
As winter descends, the moisture drawn into your air suspension system by a leaking air spring becomes your number one enemy. During sub-zero nights, this accumulated water freezes inside critical components, leading to a system that is either stuck down or completely unresponsive. The component most vulnerable to this systemic contamination is the air dryer, whose entire job is to remove this moisture before it can travel further into the valve block and air lines.
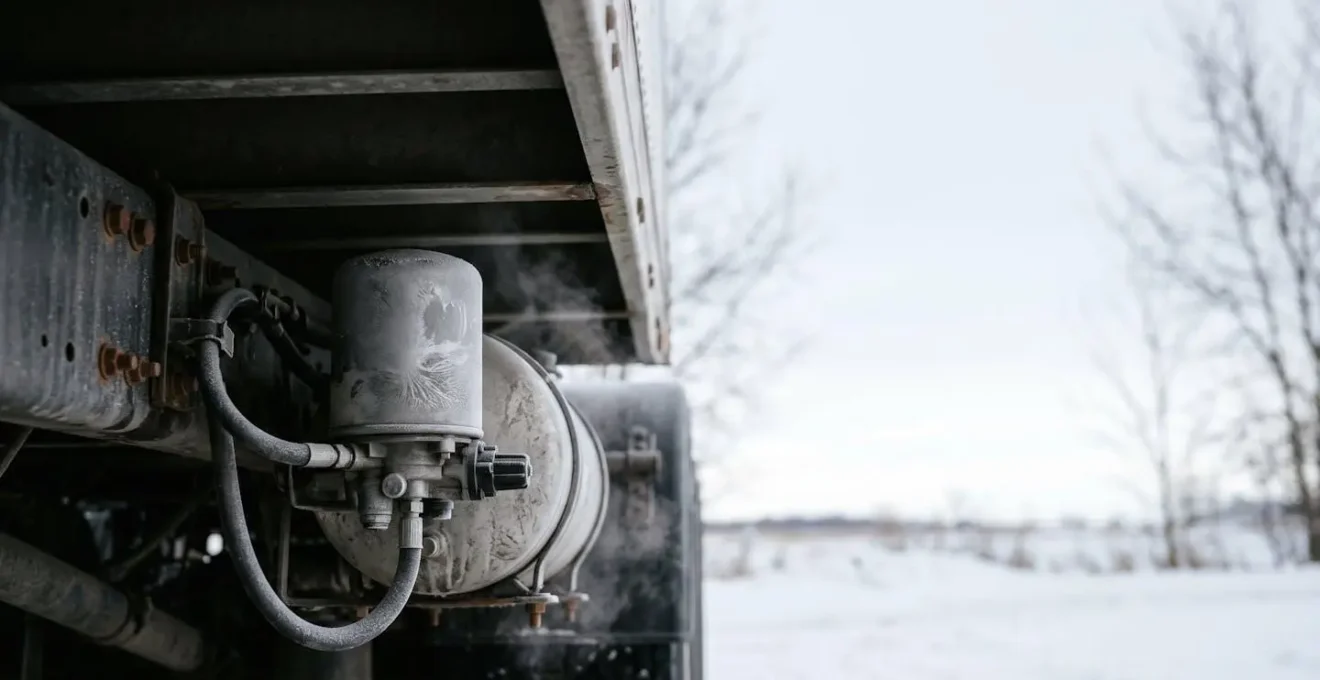
When the desiccant beads in the dryer are saturated, they can no longer absorb moisture. This allows water to pass through and freeze, blocking airflow and effectively paralyzing your suspension. In the morning, the compressor will try to run against this ice blockage, leading to extreme pressure spikes and potential damage. The single most effective preventative measure is proactive moisture control. Checking and replacing the desiccant beads before winter is not just maintenance; it’s critical insurance against a no-start or stuck-down situation on a frigid morning.
You can also take active steps to purge moisture during the winter months. Manually raising the suspension to its highest setting after driving in wet conditions forces the compressor to run. The heat it generates helps warm the dryer and push out trapped moisture before it can freeze overnight. Some heavy-duty truck systems include manual drain valves on the air tanks for daily purging, a principle luxury SUV owners can emulate through disciplined pre-winter service to ensure their system remains operational in the coldest temperatures.
Arnott vs. OEM Air Springs: Is the Lifetime Warranty Worth the Price Difference?
When faced with a leaking air spring, many owners are tempted by aftermarket brands like Arnott, which often come at a lower price point than Original Equipment Manufacturer (OEM) parts and are marketed with an appealing « Limited Lifetime Warranty. » However, the true cost of this warranty is often hidden in the fine print and the realities of automotive labor. While the part itself may be covered, the significant cost of labor for removal and installation is almost always excluded.
This « labor cost trap » can quickly negate any initial savings. A single warranty claim on a failed aftermarket part can mean you’re still paying hundreds of dollars in shop fees, turning a « free » replacement into a recurring expense. The value proposition of a lifetime warranty diminishes significantly if the parts have a higher failure rate or if the company denies claims under vague « normal wear and tear » clauses, as some owners have reported.
As one analysis of real-world experiences reveals, the warranty doesn’t cover the full cost of the failure. This is a critical factor in the total cost of ownership calculation.
Case Study: The Real-World Arnott Warranty Experience
According to Arnott’s own Limited Lifetime Warranty policy, the coverage explicitly excludes the cost of removal and installation. All incidental and consequential damages are also excluded, regardless of when the failure occurs. This policy has tangible consequences for vehicle owners. Multiple Range Rover owners have reported warranty claims being denied for « normal wear and tear » after 90,000 miles, despite the « lifetime » marketing promise. In one documented case, a vehicle required three separate mechanic visits at the owner’s expense when the replacement warranty parts also failed. This demonstrates that even if a $600 air spring is replaced under warranty, the owner could still be liable for $400-$500 in labor charges each time a claim is filed, fundamentally altering the financial equation.
Therefore, the decision between Arnott and OEM should not be based on the warranty’s marketing headline, but on a careful evaluation of part reliability, the likelihood of needing to use the warranty, and the non-covered costs you will incur if you do.
The Towing Mistake That Ruptures Air Bags on Flatbed Trucks
One of the most sudden and destructive ways to damage an air suspension system has nothing to do with leaks or wear. It happens in an instant on the back of a flatbed tow truck. Modern luxury SUVs with air suspension are designed to self-level. If the system is not properly put into a « Jack Mode » or « Service Mode » before being towed, it will try to fight the tie-down straps. As the tow truck driver cinches the vehicle down, the suspension sensors detect the drop in height and command the compressor to inflate the air springs to compensate. This creates a high-stakes tug-of-war between the powerful winch straps and the vehicle’s air suspension system.
The result is catastrophic. The air springs are hyper-extended and inflated against the immense pressure of the tie-downs, leading to ruptured air bags or blown O-ring seals. A routine tow can easily cause thousands of dollars in damage. Towing specialists warn this can lead to as much as $5,000 in potential suspension repairs, all from an attempt to save a few dollars on a tow. It is absolutely imperative that the owner—or a knowledgeable tow operator—disables the self-leveling system before the vehicle is secured.
Every manufacturer has a specific procedure for this, typically accessible through the vehicle’s infotainment screen or a sequence of button presses. In a worst-case scenario with a dead battery, the suspension control module fuse can be pulled as a last resort. Knowing this procedure is not optional; it’s a critical piece of ownership information that can save you from an entirely preventable and exorbitant repair bill.
When to Abandon Air Suspension: The Break-Even Point for Conversion Kits?
For owners of aging luxury vehicles, there comes a point where the cycle of repairing failing air suspension components becomes financially unsustainable. When you’re facing the replacement of multiple air springs plus a worn-out compressor, the repair bill can easily approach several thousand dollars. This is the moment to consider the « financial break-even point » and evaluate a full conversion to a traditional coil spring and strut/shock setup. A high-quality coilover conversion kit can often be purchased and installed for significantly less than the cost of a complete air suspension overhaul.
The financial argument for conversion is compelling, especially in the face of a systemic failure. As a comparative cost analysis shows, the savings can be substantial.
This table, based on a recent analysis of air suspension repair costs, illustrates the financial break-even points for different failure scenarios.
| Scenario | Air Suspension Repair Cost | Coilover Conversion Cost | Financial Outcome |
|---|---|---|---|
| Two leaking air springs + worn compressor | $1,700 ($600 per spring × 2 + $500 compressor) | $900 (full conversion kit) | Save $800 upfront with conversion |
| Single air spring failure (vehicle under 100k miles) | $600 part + $300 labor = $900 | $900 conversion kit + $200 labor = $1,100 | Repair is $200 cheaper short-term |
| Complete system failure (all 4 corners + compressor + dryer) | $3,500+ (parts + labor) | $900-1,200 (conversion) | Save $2,300-2,600 with conversion |
| Preventive conversion (system still working, high-mileage vehicle) | $0 now, but $1,500-2,000 risk within 2 years | $900-1,200 now | Avoid future breakdown, eliminate ongoing risk |
However, the decision isn’t purely financial. Converting to coilovers means sacrificing the features that define a luxury ride. You will lose automatic load-leveling for towing, the ability to adjust ride height for different conditions, and the adaptive damping that provides a smooth ride. Furthermore, a permanent « Check Suspension » warning light may appear on your dash unless a special Electronic Bypass Module (EBM) is installed. Finally, this modification can negatively impact the vehicle’s resale value, as future buyers may expect the original air ride system to be intact.
How to Recalibrate Ride Height Sensors if Your Car Leans to One Side?
If your vehicle is leaning to one side but you’ve ruled out air leaks and checked tire pressures, the culprit is often a confused or failed ride height sensor. These sensors—small mechanical arms connected to the suspension—tell the control module how high each corner of the car is sitting. When one provides an inaccurate reading, the system will incorrectly add or remove air from that corner, causing a noticeable lean. Before attempting a complex electronic recalibration, it’s crucial to perform a thorough physical inspection.
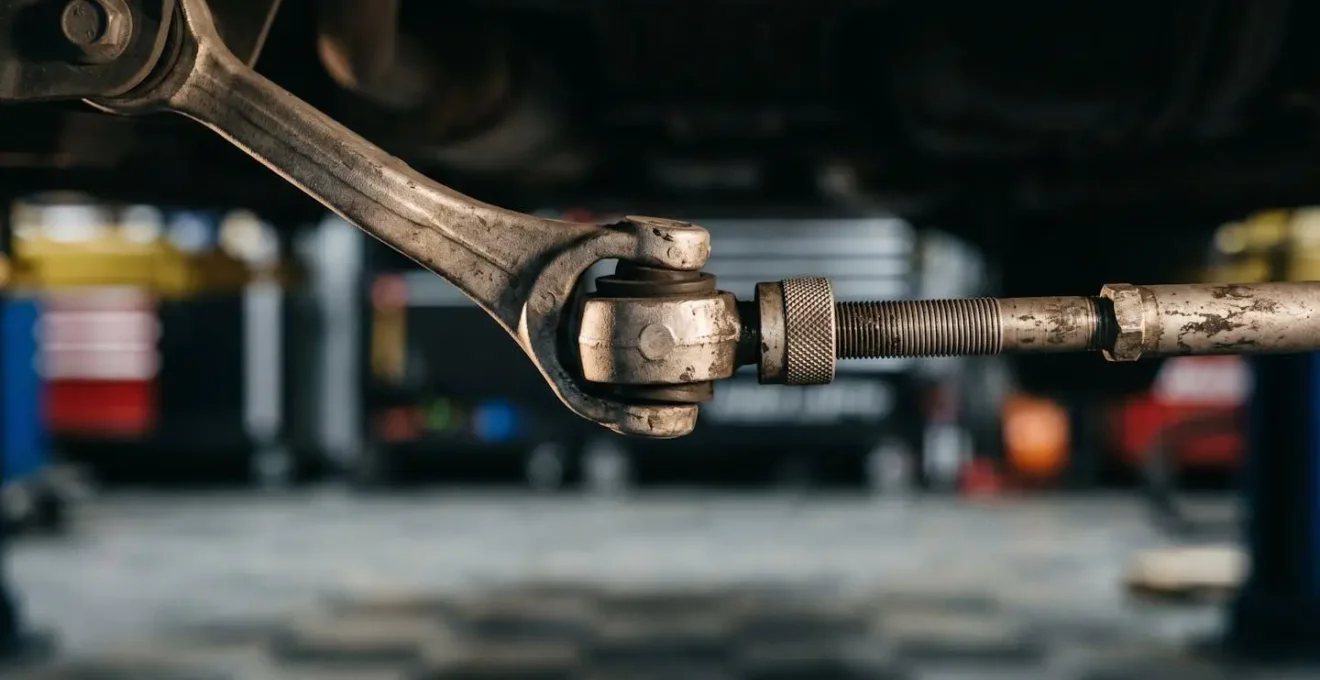
The sensors and their plastic linkages are exposed to road debris, water, and salt, making them prone to physical damage, corrosion in the connectors, or simple mechanical wear. Sometimes the fix can be as simple as cleaning a corroded connector or slightly adjusting the linkage. However, a true electronic recalibration is not a simple DIY task. It requires manufacturer-specific diagnostic software (like VCDS for Audi/VW or IDS for Ford) to access the suspension control module and reset the baseline height values. Trying to « trick » the system without the proper tools can often lead to more problems.
A systematic diagnostic approach is essential to avoid chasing the wrong problem. You must rule out all physical and mechanical issues before concluding that an electronic recalibration is necessary. This step-by-step process ensures you address the root cause, whether it’s a simple bent linkage or a truly failed electronic component.
Your 5-Step Diagnostic Checklist: Ride Height Sensor Faults
- Rule Out Physical Problems First: Check tire pressures (unequal pressure mimics a sensor fault), inspect for leaking air springs, and verify suspension components like control arms are not bent or damaged.
- Inspect Sensor and Linkage: Visually examine the sensor body for cracks, the linkage for damage, and the electrical connector for corrosion or water ingress on the pins.
- Test Sensor Function: With a multimeter, check the sensor’s resistance as you move the linkage arm. The reading should change smoothly. Jumps or dead spots indicate internal failure of the potentiometer.
- Attempt Minor Mechanical Adjustment: For slight leans, the « washer trick »—adding or removing washers at the sensor’s mounting point—can sometimes correct the baseline reading. Research this for your specific vehicle.
- Proceed to Electronic Recalibration: If all physical checks pass, use the appropriate diagnostic scan tool to read live data, clear fault codes, and perform the guided electronic ride height calibration procedure.
Hydraulic vs. Electric Column Retrofit: Which Retains Better Road Feel?
While managing the complexities of an aging air suspension system, owners of older luxury or classic cars often face similar « repair vs. upgrade » decisions with other core systems, most notably the power steering. For decades, hydraulic power steering (HPS) was the standard, praised for its direct, communicative road feel. However, these systems are complex, prone to leaks, and create a constant parasitic power loss on the engine.
The modern alternative is an Electric Power Steering (EPS) system, often integrated into the steering column. EPS offers significant advantages: it eliminates messy hydraulic fluids and pumps, cleans up the engine bay, and improves fuel efficiency by only drawing power when steering assistance is needed. The old argument against EPS was that it felt numb and disconnected compared to hydraulic setups. However, modern aftermarket EPS retrofit kits have made huge strides in tuning, offering programmable assistance levels that can mimic—and in some cases, surpass—the feel of a traditional HPS system.
The key trade-off is between authenticity and performance. A hydraulic system may be « period correct, » but it comes with the inherent inefficiency of a belt-driven pump that creates a constant draw of 1-3 horsepower, even when driving in a straight line. For a restoration or restomod project, an electric column retrofit offers a reliable, efficient, and highly tunable solution that eliminates a major source of potential leaks and maintenance headaches, much like a coilover conversion does for air suspension.
Key Takeaways
- A sagging suspension is an urgent warning of impending compressor failure, not just a simple leak.
- Moisture is the primary enemy. Proactive winter maintenance on the air dryer is critical to prevent freeze-ups.
- Aftermarket « lifetime » warranties often exclude labor costs, which can make them more expensive than OEM parts over time.
- Always disable your air suspension’s self-leveling feature before towing to prevent catastrophic air spring rupture.
- A coilover conversion offers significant upfront savings but involves a permanent sacrifice of ride quality and features.
Electronic Shocks vs. Passive Delete Kits: Which Is the Smarter Repair for Old Cars?
The final, and perhaps most significant, decision point when abandoning a problematic air suspension system involves the shock absorbers themselves. Many luxury vehicles pair air springs with electronically controlled, adaptive shocks. These shocks can change their damping force in milliseconds in response to road conditions and driving style. When you convert to a passive coil spring setup, you must also decide what to do about these « smart » shocks.
You have two main paths. The first is a full « passive delete, » replacing the expensive electronic shocks with conventional, non-adjustable ones. This is the most cost-effective solution, completely eliminating the complex electronics from the equation. The trade-off, however, is a permanent compromise in ride quality and performance. The car will no longer be able to switch between a comfortable cruising mode and a firm, sporty handling mode.
As one engineering team succinctly put it, the choice is between versatility and compromise.
An electronic shock can be a comfortable sedan and a sharp sports car. A passive shock is a permanent compromise between the two.
– Automotive Suspension Engineering Team, Industry analysis of adaptive damping systems
The second path is to retain the electronic shocks, if they are still functional, and use a conversion kit that only replaces the air springs with coil springs. This is a more complex and often more expensive option, but it preserves the adaptive damping capabilities. The « smarter » repair depends entirely on your priority: if you want to restore the vehicle to a simple, reliable state at the lowest possible cost, a full passive delete is logical. If preserving the dual-personality ride and handling characteristics of your luxury vehicle is paramount, then a more nuanced conversion that retains the electronic shocks is the superior, albeit more costly, choice.
Ultimately, a sagging suspension is a call to action. Ignoring it guarantees a far more expensive and inconvenient failure down the road. The smartest move is to begin a thorough diagnostic process immediately. By addressing the root cause—be it a leak, a restriction, or a failing sensor—you can protect the most expensive component in the system and keep your vehicle performing as it was designed.