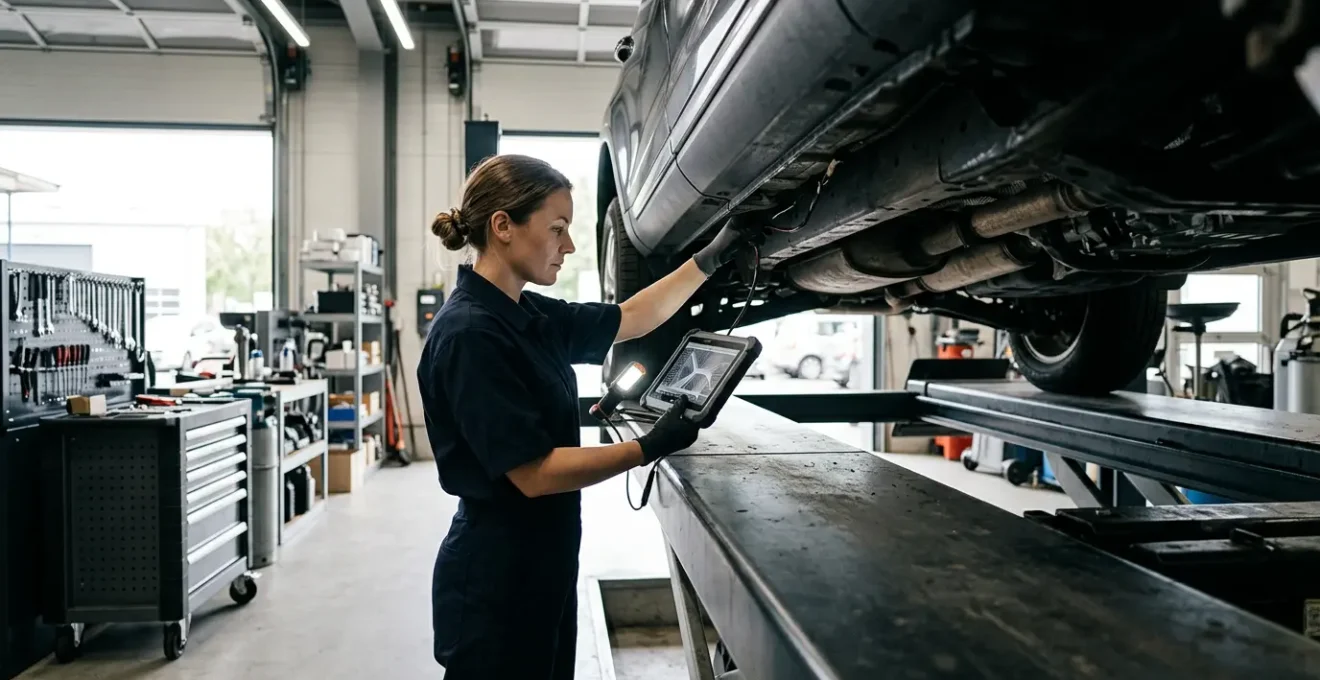
Spotting a bad mechanic isn’t about looking for grease stains; it’s about decoding their business model to see if their profits come from solving your problem or from exploiting it.
- Billing methods like « flat-rate diagnosis » often create an incentive to be fast, not accurate, costing you more in the long run.
- General certifications are often a smokescreen for a lack of true brand-specific expertise, and critical « inspections » are frequently ignored in high-volume shops.
Recommendation: Stop being a passive customer. Start acting like an auditor by demanding documented proof of work, parts, and calibrations.
That sinking feeling when the check engine light comes on is often followed by a bigger fear: is the mechanic I’m about to trust going to fix my car, or fix their cash flow? You’ve likely heard the standard advice: check online reviews, get a written estimate, maybe even look for a clean shop. But these are surface-level checks. They don’t protect you from the sophisticated, systemic ways that mediocre or dishonest shops separate good people from their money, leaving you with a lighter wallet and a car that might not even be properly repaired.
What if the key isn’t spotting an obvious liar, but understanding a broken business model? The real danger isn’t just the outright scammer; it’s the « specialist » whose entire operation is built on incentive misalignment—a system where their path to profit is directly opposed to your need for an accurate, affordable, and honest repair. They bank on you being a passive customer, not an informed auditor of their process.
This guide pulls back the curtain. We will move beyond the platitudes and arm you with an insider’s understanding of the auto repair industry’s pressure points. We’ll dissect the credentials that actually matter, expose the billing tricks designed to confuse and overcharge you, and reveal the direct link between a shop’s process and the quality of its work. By the end, you’ll have the tools to audit any shop before you even hand over your keys.
This article provides a comprehensive look at the key indicators of a trustworthy or questionable repair facility. The following table of contents outlines the critical areas we will explore to help you become a more empowered and discerning vehicle owner.
Contents: Unmasking the « Specialists »: A Guide to Avoiding Repair Scams
- ASE vs. Manufacturer Certified: Which Credential Matters for Your Brand?
- Flat Rate vs. Hourly Diagnosis: Which Billing Method Is Fairer for Electrical Work?
- Dirty Shop, Dirty Work: The Correlation Between Workshop Hygiene and Repair Failures
- The « Premium Part » Scam Where Shops Install Budget Brands at OEM Prices
- When to Leave the Dealership: The Car Age Where Independent Specialists Save You 40%?
- Dealer vs. Glass Shop: Who Calibrates ADAS More Accurately?
- Why « Inspect » Items on the Service Schedule Are Often Ignore by Quick Lubes?
- How to Build a « Full Service History » That Increases Resale Value by 20%?
ASE vs. Manufacturer Certified: Which Credential Matters for Your Brand?
One of the first things a questionable shop will do is point to a logo on the wall as proof of expertise. The most common is the ASE (Automotive Service Excellence) certification. While it’s a good baseline indicating a technician has passed a standardized test, it’s far from the whole story. The shocking truth is that only about 230,000 of the 756,600 mechanics in the United States are ASE Certified. This scarcity means that many shops operate without this basic credential, and those that have it may overstate its significance.
The real difference between a generalist and a true specialist lies in manufacturer-specific training. An ASE certification is like a general medical degree, but for your complex German car with a VANOS or DSG issue, you need a cardiologist, not a general practitioner. A technician with factory training for BMW, Audi, or Mercedes has access to proprietary diagnostic tools, specific repair procedures, and a deep understanding of common failures unique to your vehicle’s engineering. This is a level of expertise a general ASE certification does not cover.
A shop’s true commitment to expertise is revealed by how deeply certification is embedded in its culture. The best shops don’t just employ one « star » technician.
Case Study: The ASE Blue Seal of Excellence
The gold standard is the ASE Blue Seal of Excellence Recognition Program. This isn’t for an individual but for the entire facility. To qualify, a shop must have at least 75% of its technicians ASE-certified, with every single area of service (brakes, engine, electronics) covered by a certified professional. This demonstrates an institutional commitment to standards, ensuring that expertise isn’t just a marketing gimmick but a core part of their operational DNA. When you see this seal, you know the shop invests heavily in its team’s knowledge.
Flat Rate vs. Hourly Diagnosis: Which Billing Method Is Fairer for Electrical Work?
The estimate is where many scams begin, and the most confusing part is often the « diagnostic fee. » How a shop charges for finding the problem speaks volumes about its business model. The two primary methods are a flat-rate fee and hourly billing, and for complex issues like electrical gremlins, the difference is critical. Industry billing standards show that the average per-hour diagnostic charge is $125, but shops often advertise a lower flat fee that only covers a fraction of that time.
A « flat diagnostic fee » sounds appealingly simple—you pay a fixed price, say $129, for them to tell you what’s wrong. But this creates a powerful incentive for the technician to be fast, not thorough. The fee typically only covers scanning for codes, not the painstaking pinpoint testing required to trace a faulty wire or sensor. If the problem isn’t immediately obvious, they come back asking for « more diagnostic time, » and you end up paying the flat fee plus hourly charges anyway. It’s a classic bait-and-switch built on incentive misalignment.
Hourly billing, when capped and pre-authorized by you, is almost always fairer for complex jobs. You agree that the technician can spend up to a set amount of time (e.g., two hours) to find the problem. This aligns the shop’s incentive with yours: they are paid for their diligent effort, and you are protected from a runaway bill. This method encourages thoroughness, which is essential for intermittent or complex electrical and ADAS-related problems.
This table breaks down the risks and benefits, showing how the billing method itself can be a red flag for a shop’s integrity.
| Billing Method | How It Works | Consumer Protection | Risk of Overcharge | Best For |
|---|---|---|---|---|
| Flat Diagnostic Fee | Fixed fee (e.g., $129) regardless of actual time spent | Low – often covers only code scan, not pinpoint testing | High – may require additional ‘diagnostic time’ charges | Simple code reading, quick inspections |
| Hourly Diagnostic Time | Billed per actual hour of diagnostic work with shop rate | High – with pre-authorized time cap (e.g., 2 hours max) | Low – if customer sets authorization limit upfront | Complex electrical issues, intermittent problems, advanced ADAS systems |
| Hybrid (Flat + Hourly) | Base diagnostic fee + hourly for extended testing if needed | Medium – requires clear communication of when hourly kicks in | Medium – depends on shop transparency | Most general repairs with potential for complexity |
Dirty Shop, Dirty Work: The Correlation Between Workshop Hygiene and Repair Failures
« Look for a clean shop » is one of the oldest pieces of advice, but it’s often dismissed as a superficial preference. The reality is that workshop hygiene is a powerful and direct indicator of a shop’s discipline, process control, and the ultimate quality of its work. A disorganized, grimy environment isn’t just unpleasant; it’s a breeding ground for catastrophic repair failures. This isn’t opinion; it’s a core principle of modern manufacturing that applies directly to auto repair.
This is best understood through the lens of professional manufacturing, where cleanliness is a non-negotiable metric tied directly to product reliability.
Case Study: ISO 16232 and Technical Cleanliness
In the automotive manufacturing world, standards like ISO 16232 and VDA 19 govern « technical cleanliness. » These standards exist because even microscopic particulate contamination on sensitive components like engine parts, fuel injectors, and electronic modules can drastically reduce their performance and lifespan, leading to field failures. Manufacturers go to extreme lengths to ensure these parts are made and assembled in controlled, clean environments. A professional repair shop that handles these same critical components during a repair must uphold the same principles. A dirty shop floor means dirt, grit, and contaminants are inevitably finding their way into your engine, transmission, or brake system.
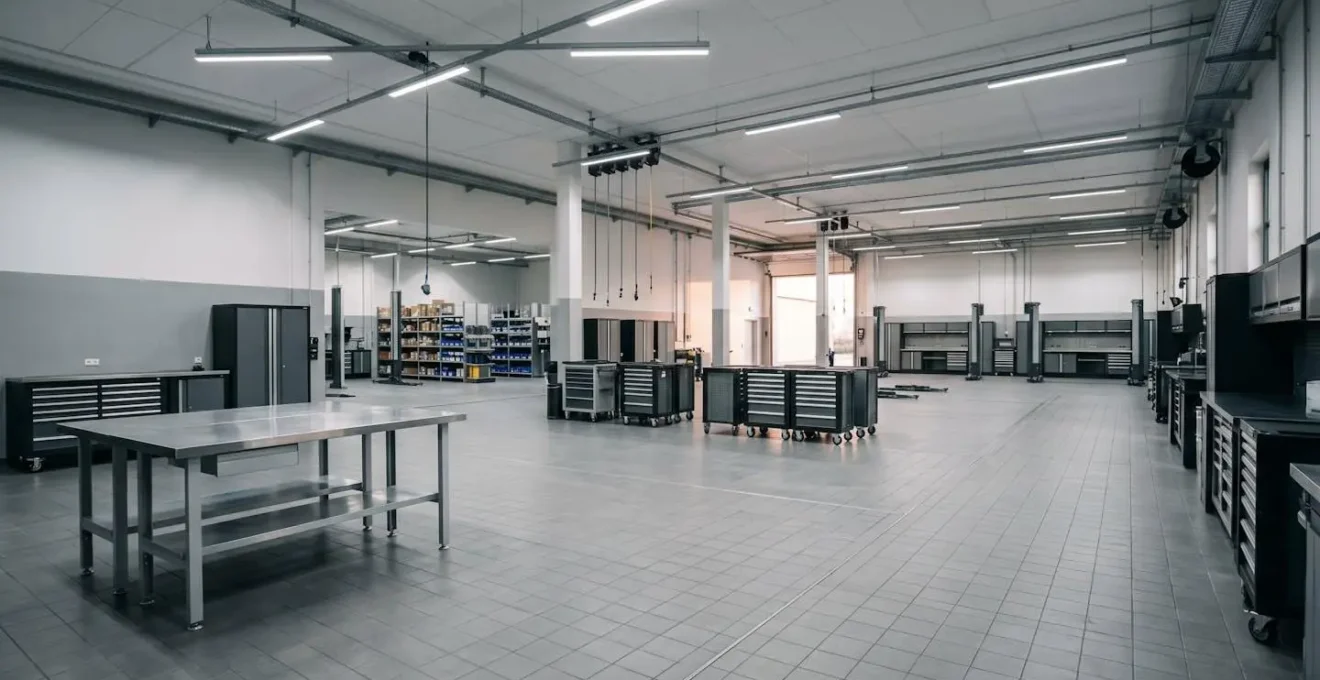
When you see a shop like the one pictured—with clean floors, organized tool chests, and designated areas for assembly and disassembly—you’re not just seeing tidiness. You’re seeing evidence of a disciplined process. It shows a respect for the intricate machinery they work on and an understanding that preventing contamination is a critical part of a successful repair. Conversely, a floor littered with old parts, tools scattered about, and pervasive grime is a massive red flag that this same lack of discipline will be applied to the work being done inside your vehicle.
The « Premium Part » Scam Where Shops Install Budget Brands at OEM Prices
One of the most insidious and difficult-to-detect scams is part substitution. The written estimate proudly lists a « Bosch alternator » or « Brembo brake pads » at the premium OEM price, but the part actually installed is a cheap, no-name brand from a budget supplier. The shop pockets the significant difference in cost, and you drive away with an inferior part destined for premature failure. With the counterfeit auto parts market having an impact of over $3 billion annually in the U.S. alone, the scale of this problem is staggering.
This scam thrives on the information asymmetry between the mechanic and the customer. You can’t see the part once it’s installed, and even if you could, would you be able to tell the difference between a genuine OEM component and a low-quality knockoff? Often, the differences are subtle—material density, machining tolerances, the quality of the finish—but they have a massive impact on performance and longevity.
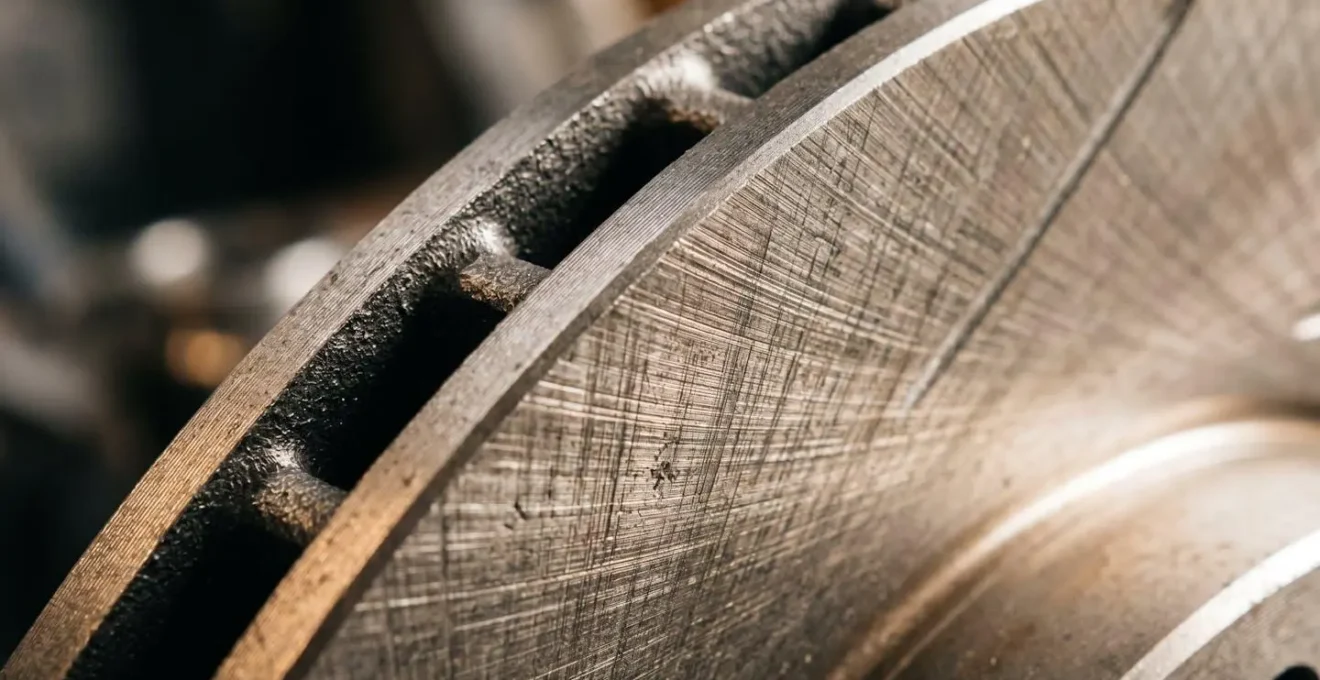
A high-quality brake rotor, for example, has precise machining and a specific material composition for heat dissipation. A cheap substitute may look similar but will warp or wear out far more quickly. To protect yourself, you must shift from being a passive recipient to an active auditor of the parts being used. You need a verification protocol that puts the burden of proof on the shop.
Your 5-Step Part Verification Protocol
- Demand Specificity: Before authorizing work, insist the written estimate specifies the exact part brand and part number (e.g., « Bosch 0986041530 Alternator, » not just « alternator »).
- Request Packaging: Ask to see the box or packaging the new part came in. Verify the brand and part number on the box match your estimate exactly. Legitimate shops have no problem with this.
- Get the Old Part Back: Always ask for the removed old part to be returned to you. This is a standard customer right. A shop’s hesitation or refusal is a major red flag that they have something to hide.
- Inspect the Box: OEM and premium aftermarket parts use high-quality, branded packaging, often with security seals or holograms. Part numbers are typically printed directly on the box, not applied with a cheap sticker.
- Compare Physical Attributes: If you’re suspicious, compare the new part (before installation) or the old part to reference images from the manufacturer’s website. Counterfeits often use cheaper, lighter materials and have a rougher finish or uneven paint.
When to Leave the Dealership: The Car Age Where Independent Specialists Save You 40%?
The question of « dealership vs. independent shop » is a constant source of anxiety for car owners, fueled by a deep-seated mistrust in the industry. It’s not just a feeling; two in three Americans don’t trust auto repair shops. Many owners stick with the dealership long after the warranty expires, fearing the unknown of the independent world but paying a steep premium for that perceived safety. The key is understanding that there is a « sweet spot » where switching from a dealer to a brand-specific independent specialist yields massive savings without sacrificing expertise.
Dealerships have three main advantages: they perform warranty work and recalls for free, they have the very latest proprietary diagnostic tools, and they are staffed by factory-trained technicians. For a vehicle under 5 years old or still within its powertrain warranty, sticking with the dealer is often the wisest choice. You are paying for guaranteed access to the most current technology and training, which is critical for a new and complex vehicle.
However, once your car is out of warranty and passes the 5-year/60,000-mile mark, the value proposition of the dealership plummets. Their high overhead costs and inflexible pricing mean you’re paying a premium for services that a qualified independent specialist can perform just as well, or better, for significantly less. This is where the brand-specific independent specialist becomes your best friend—often an ex-dealer tech who opened their own shop, specializing in one make (like BMW, Subaru, or Honda) and possessing years of deep, focused experience.
| Shop Type | Hourly Labor Rate | Ideal For | Advantages | Disadvantages |
|---|---|---|---|---|
| Dealership Service | $160-$230+/hr | Warranty work, recalls, dealer-only software updates, vehicles under 5 years/60k miles | Factory-trained techs, OEM diagnostic tools, guaranteed OEM parts, warranty preservation | Highest cost, inflexible pricing, may push unnecessary dealer services |
| Independent Specialist (brand-specific) | $100-$160/hr | Post-warranty maintenance, brand-specific complex repairs (BMW, Audi, Mercedes), older vehicles (10+ years) | Ex-dealer techs with factory training, lower overhead, flexible parts sourcing, superior knowledge of common failures | May lack newest dealer diagnostic software, not authorized for warranty work |
| General Independent Shop | $100-$140/hr | Routine maintenance (oil, brakes, suspension), multi-brand households, basic repairs | Lowest cost, flexible scheduling, personal relationships | May lack brand-specific expertise for complex issues, variable tech quality |
Dealer vs. Glass Shop: Who Calibrates ADAS More Accurately?
Windshield replacement used to be a simple affair. Today, on a modern vehicle, it’s brain surgery. The area around your rearview mirror is packed with cameras and sensors that control your car’s Advanced Driver Assistance Systems (ADAS)—things like lane-keeping assist, adaptive cruise control, and automatic emergency braking. After a windshield is replaced, these systems must be precisely recalibrated. A tiny error in the camera’s angle can cause the system to misjudge distances, leading to catastrophic failure when you need it most. The financial stakes are high, as a 2023 AAA report found that minor repairs on vehicles with ADAS can cost up to $1,540.
This has created a new battleground: should you trust the dealership or a specialized glass shop for this critical task? The answer depends entirely on the shop’s investment in equipment and training, not its name. Dealerships have the advantage of direct access to the manufacturer’s official calibration targets and software. However, many third-party glass shops have invested heavily in the same OEM-level equipment to compete. Conversely, some smaller shops or dealers may try to get by with cheaper, less accurate aftermarket all-in-one systems.
The method of calibration is also critical. A « static calibration » is performed in the shop using specific targets placed at precise distances from the car. A « dynamic calibration » requires the technician to drive the vehicle on well-marked roads to let the system learn. The manufacturer’s repair procedure for your specific VIN dictates which method is required—sometimes both. A true professional knows this and doesn’t take shortcuts. The danger lies with shops that perform only a quick dynamic calibration when a static one was also required, leaving you with a system that seems to work but is not truly accurate.
Your only defense is to audit their process. Before you agree to any work, you must get clear answers to three non-negotiable questions:
- Ask about the method: « Will you be performing a static or dynamic calibration, and does the OEM procedure for my VIN require that specific method? »
- Verify the equipment: « Do you use the official manufacturer’s calibration targets and software for this procedure, or an aftermarket system? »
- Demand proof: « Will you provide me with a printed ‘before and after’ scan tool report showing that the calibration was required and that it completed successfully? » If a shop balks at providing this proof, walk away.
Why « Inspect » Items on the Service Schedule Are Often Ignore by Quick Lubes?
Your vehicle’s owner’s manual contains a detailed maintenance schedule with services required at different mileage intervals. Many of these are simple « replace » items, like oil and filters. But a huge number are « inspect » items: inspect brake lines, inspect CV boots, inspect suspension components. These inspections are the core of preventative maintenance—they are designed to catch small problems before they become catastrophic failures. And in the high-volume, low-margin world of quick-lube shops, they are almost universally ignored.
This isn’t necessarily because the technicians are malicious; it’s because of their fundamental business model.
Case Study: The Throughput vs. Thoroughness Model
Quick lube facilities operate on a profit-per-bay-hour metric optimized for speed. Their goal is maximum throughput—getting as many cars in and out as possible. A standard oil change might be allocated 15 minutes. A proper multi-point inspection, as dictated by the manufacturer, could easily add another 15-20 minutes of a technician’s time, requires a higher skill level to do correctly, and directly slashes their core « cars per hour » metric in half. The business model incentivizes them to upsell easily demonstrable, high-margin, low-skill items like air filters and wiper blades, not to identify a developing issue like a torn CV boot that they aren’t equipped to repair profitably anyway.
This is a classic case of incentive misalignment. The shop is incentivized to be fast, while you need them to be thorough. As David Bennett, a repair systems manager for the American Automobile Association (AAA), has pointed out:
Quick-change oil and lube shops are notorious for upselling things like transmission flushes and air filter replacements.
– David Bennett, American Automobile Association (AAA)
To counteract this, you must transform your passive request into an active, accountable task. Don’t just ask them to do the scheduled service. Instead, print out your vehicle’s official maintenance schedule for the correct mileage, hand it to the service writer, and state: « I need you to physically check and initial each of these inspection items and return the completed sheet to me before I pay. » This creates a paper trail and forces accountability. A shop that values thoroughness will have no problem with this; a shop built on throughput will refuse or dismiss the request, which is your signal to leave.
Key Takeaways
- Audit, Don’t Trust: A shop’s true quality is revealed in its processes, not its promises. Audit their credentials, billing methods, and cleanliness.
- Demand Proof: The burden of proof is on the shop. Insist on seeing part packaging, calibration reports, and completed inspection checklists.
- Incentives Matter: Understand the shop’s business model. A model based on high-volume throughput is fundamentally opposed to thorough, careful work.
How to Build a « Full Service History » That Increases Resale Value by 20%?
In an industry plagued by mistrust, a comprehensive service history is your ultimate defense and your most powerful asset. Research highlights the pervasive nature of repair scams, with a recent survey finding that 50% of car owners reported shops trying to sell unnecessary repairs, and 35% reported being overcharged. A meticulously documented service history does more than just prove you changed the oil; it tells a story of diligent, responsible ownership. It’s the definitive proof that your car was cared for by professionals, not neglected or serviced by amateurs. This narrative of care and transparency can dramatically increase your car’s resale value, often by as much as 20%.
A « full service history » is more than just a folder of crumpled receipts. It’s a curated archive that demonstrates your commitment to maintenance and serves as a powerful negotiating tool. It protects you during ownership by preventing redundant diagnoses and empowers you at the time of sale by building instant trust with a potential buyer. Creating this history requires a simple but disciplined hybrid analog-digital system.

The system is your shield. When you bring your car to a new mechanic, presenting this binder instantly changes the dynamic. It shows them you are an informed, organized owner, immediately discouraging attempts to sell you unnecessary services. They can see a new alternator was installed 10,000 miles ago, so they won’t waste time (or your money) diagnosing it. To build this powerful tool, follow these steps:
- Create the Physical Binder: Get a simple three-ring binder and a pack of clear plastic sleeves. Every single receipt for any service, part, or repair goes into a sleeve, organized chronologically.
- Annotate Your Repairs: For any non-routine repair, attach a small handwritten note to the receipt detailing the « symptom, diagnosis, and repair. » This provides crucial context that a simple receipt lacks.
- Build the Digital Master Log: Create a master spreadsheet (e.g., in Google Sheets) that tracks: Date, Mileage, Service Type, Shop Name, Cost, and—most critically—the specific Part Brands Used.
- Update Immediately: Update the spreadsheet within 24 hours of every service. The spreadsheet is the clean, easy-to-read summary for a potential buyer; the binder is the hard evidence that backs it up.
- Use It as a Sword and Shield: Bring the history to new mechanics to prevent re-diagnosis of old problems and demonstrate your diligence. This simple act of showing you’re organized can save you thousands over the life of your car.
Take the first step. Start your service history binder today and transform from a potential victim into an empowered, informed car owner who is in complete control.