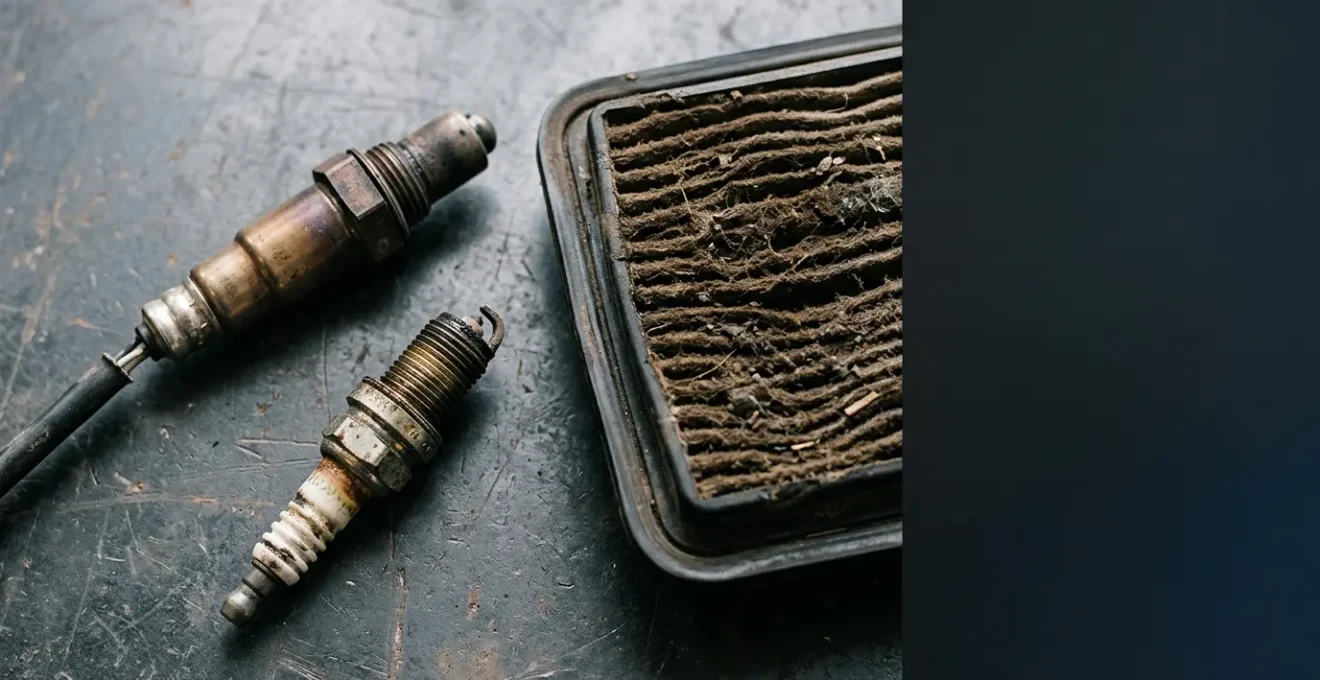
Your car is likely wasting fuel not because of a major failure, but due to a few cheap, degraded components that operate silently in the background without triggering a check engine light.
- A « lazy » oxygen sensor can silently increase fuel consumption by over 10%.
- A tiny crack in a $5 vacuum hose can cause rough idling and poor mileage.
- The wrong type of spark plug costs you more in the long run through inefficiency and strain on other parts.
Recommendation: Instead of guessing, learn to use basic diagnostic tools and observation to pinpoint the exact, inexpensive part that is costing you money at the pump.
Watching your car’s fuel gauge drop faster than it should is a frustrating experience for any budget-conscious driver. You follow the common advice: you keep your tires properly inflated, you get regular oil changes, and you try not to accelerate like a race car driver. Yet, the trips to the gas station still feel too frequent. The problem is that the most common advice often overlooks the silent culprits—the small, inexpensive parts that degrade slowly over time, hurting your fuel economy without ever triggering a check engine light.
While major components grab all the attention, the key to reclaiming your gas mileage often lies in a more investigative approach. It’s about learning to spot the subtle symptoms and interpret the data your car is already giving you. This isn’t about expensive, complex repairs. It’s about understanding how a few specific, low-cost parts can fail in ways that fly under the radar of your car’s main computer but have a direct impact on your wallet.
Forget the generic tips. This guide takes a diagnostic technician’s approach to empower you. We will uncover why a « lazy » sensor is more costly than a dead one, how a simple hose can cause chaos, and why choosing the right spark plug is a critical financial decision. By the end, you will not only know what parts to check but, more importantly, *how* to confirm they are the problem before you spend a single dollar on a replacement.
This article provides a structured path to becoming a more efficient car owner. Below is a summary of the key areas we will investigate to help you stop wasting fuel and start saving money.
Summary: A Diagnostic Guide to Better Fuel Economy
- Why a Lazy O2 Sensor Costs You $200 a Year in Wasted Fuel?
- Iridium vs. Copper Plugs: Which Actually Pays Off for a Daily Commuter?
- How to Check if Your Dirty Air Filter Is Really Choking Your Engine?
- The $5 Hose Crack That Causes Rough Idling and Poor Mileage
- When to Use Fuel Injector Cleaner: The Mileage Interval That Actually Matters
- How to Use Fuel Trim Data to Diagnose a Vacuum Leak?
- The « Warm Up » Myth That Wastes Fuel on Modern Engines
- How to Interpret « P0420 » and Other Common Codes Without a Mechanic?
Why a Lazy O2 Sensor Costs You $200 a Year in Wasted Fuel?
The oxygen (O2) sensor is your engine’s master chemist, constantly measuring the amount of unburned oxygen in the exhaust. It sends this information to the car’s computer (ECU) to fine-tune the air-fuel ratio for optimal efficiency. When an O2 sensor fails completely, it usually triggers a check engine light. However, a far more common and insidious problem is a « lazy » O2 sensor. This sensor isn’t dead; it’s just slow to react to changes in the air-fuel mixture. The ECU doesn’t see a total failure, so no warning light appears, but its sluggish responses cause the engine to run inefficiently rich, dumping unburned fuel out the exhaust.
The financial impact of this silent failure is significant. A slow-responding sensor can lead to an increase in fuel consumption by as much as 15%. For an average driver, that can easily equate to over $200 in wasted fuel over the course of a year. The sensor is essentially giving the ECU outdated information, especially during acceleration and deceleration, causing the system to consistently make the wrong fuel-delivery decisions. Diagnosing this requires looking at the sensor’s live data on an OBD2 scanner, not just waiting for a fault code.
A healthy O2 sensor’s voltage will switch rapidly and cleanly between approximately 0.1 and 0.9 volts. A lazy sensor will show a slow, rounded, almost flattened wave pattern. It’s this sluggishness that steals your fuel, one drop at a time, making its replacement one of the most cost-effective repairs for improving mileage on a higher-mileage vehicle.
Iridium vs. Copper Plugs: Which Actually Pays Off for a Daily Commuter?
Spark plugs are a classic tune-up item, but choosing the right type is more than just a matter of fitment; it’s a long-term financial strategy. The two most common types are traditional copper plugs and modern iridium plugs. Copper plugs are cheap to purchase, but they have a much shorter lifespan, typically requiring replacement every 20,000 to 30,000 miles. Iridium plugs, on the other hand, can cost three to four times as much upfront but are engineered to last up to 100,000 miles.
For a daily commuter, the math heavily favors iridium. While the initial purchase is higher, you avoid the cost and hassle of three or four separate replacement jobs. If you pay a professional for installation, the savings are dramatic, as you’re only paying for labor once instead of multiple times over the same 100,000-mile interval. Furthermore, iridium plugs have a fine-wire center electrode that requires less voltage to create a spark. This reduces stress on your car’s entire ignition system, including the more expensive ignition coils, potentially preventing other costly repairs down the road.

The precise, powerful spark from an iridium plug also ensures more complete fuel combustion, particularly during cold starts. This allows the engine to switch to its most efficient « closed-loop » operating mode faster, saving small amounts of fuel on every trip. While a copper plug will certainly make the engine run, an iridium plug makes it run more efficiently for far longer, making it the smarter investment for any modern, high-mileage daily driver.
The following table, based on data from automotive parts suppliers, breaks down the true cost of ownership over 100,000 miles, making the choice clear for the budget-conscious owner. As a comparative analysis shows, the long-term savings are undeniable.
| Factor | Copper Spark Plugs | Iridium Spark Plugs |
|---|---|---|
| Purchase Price (per plug) | $3 – $8 | $10 – $25 |
| Typical Lifespan | 20,000 – 30,000 miles | 100,000 miles |
| Total Parts Cost (100k miles) | $12 – $32 (replaced ~3-4 times) | $40 – $100 (single replacement) |
| DIY Total Cost (100k miles) | $12 – $32 | $40 – $100 |
| Professional Install Labor (per service) | $100 – $150 | $100 – $150 |
| Professional Total Cost (100k miles) | $312 – $632 (3-4 services) | $140 – $250 (1 service) |
| Voltage Requirement | Higher (harder on ignition coils) | Lower (fine-wire design reduces coil stress) |
| Cold Start Efficiency | Standard | Superior (faster closed-loop transition) |
| Best For | Older vehicles, high-performance track use | Modern vehicles, daily commuters |
How to Check if Your Dirty Air Filter Is Really Choking Your Engine?
The advice to « replace your dirty air filter to improve gas mileage » is one of the oldest and most repeated tips in auto maintenance. For older, carbureted engines, it was true. But for any modern, fuel-injected vehicle, it’s largely a myth. Rigorous testing has shown that a clogged air filter has no significant effect on fuel economy. Your car’s computer and sensors are smart enough to adjust the fuel mixture to compensate for the reduced airflow, maintaining the correct air-fuel ratio and preventing a drop in MPG.
So, does this mean you should ignore your air filter? Absolutely not. While it won’t kill your gas mileage, a severely clogged filter will noticeably reduce your engine’s acceleration performance. The engine can’t breathe in as much air, so it can’t produce as much power when you need to merge or pass. This was confirmed by the same Oak Ridge National Laboratory study that debunked the fuel economy myth. A new filter consistently restored lost horsepower and improved acceleration times.
Case Study: The Real Danger of a Worn Air Filter
The Oak Ridge National Laboratory tested modern vehicles with progressively clogged air filters. The results showed that engine control systems maintained the air-fuel ratio, so fuel consumption did not increase. However, the true « secret » danger isn’t the clog itself, but a worn or poorly-sealed filter. If the filter material degrades or the seal fails, fine dust and debris can bypass it and contaminate the highly sensitive Mass Airflow (MAF) sensor. A contaminated MAF sensor will send incorrect airflow readings to the ECU, which *will* cause a dramatic drop in fuel economy and can lead to a much more expensive repair than the filter itself.
The best way to check your air filter is a simple visual inspection. Hold it up to a light source. If you can’t see light passing through it, it’s time for a replacement. A new filter is a cheap insurance policy, not for your gas mileage, but to protect your engine’s performance and the health of its most critical sensors.
The $5 Hose Crack That Causes Rough Idling and Poor Mileage
One of the most common causes of a sudden drop in fuel economy and a shaky, rough idle is also one of the cheapest to fix: a vacuum leak. Your engine is a sealed system that relies on a precise vacuum to operate correctly. Various rubber and plastic hoses carry this vacuum to operate different components. Over time, heat and oil exposure cause these hoses to become brittle and crack. When a crack develops, it allows unmetered air to be sucked into the engine, bypassing the sensors that measure airflow.
This extra, unmeasured air throws off the engine’s carefully calculated air-fuel ratio, creating a « lean » condition (too much air, not enough fuel). The ECU tries to compensate by adding more fuel, which often leads to a rough idle, hesitation during acceleration, and a significant decrease in gas mileage. The culprit is often a single, hard-to-see crack in a small hose, like the PCV (Positive Crankcase Ventilation) hose, that costs less than $5 to replace.
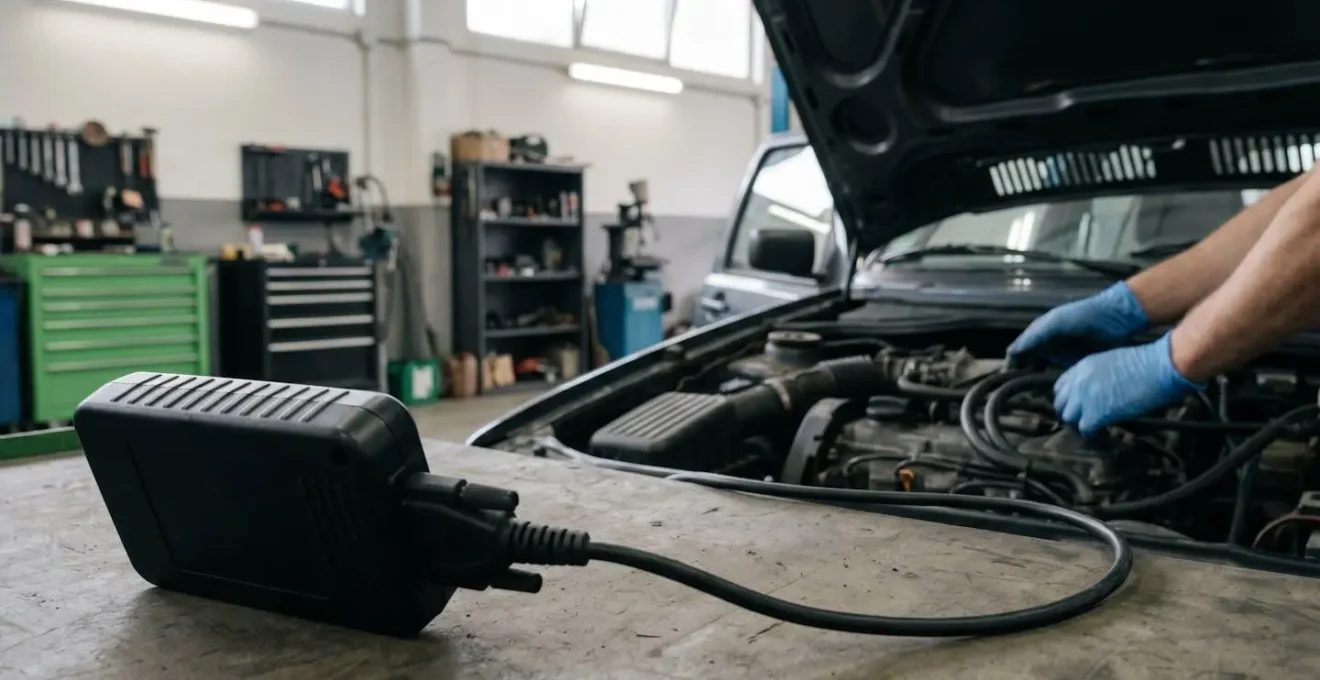
Finding a vacuum leak can feel like a hunt, but there are several DIY-friendly methods:
- Visual Inspection: Carefully check all vacuum hoses connected to the intake manifold, throttle body, and brake booster for visible cracks, especially at bends and connection points.
- Spray Method: With the engine running, carefully spray small bursts of carburetor cleaner or even soapy water around suspected hoses. If the engine’s idle speed changes or you see bubbles, you’ve found the leak.
- Smoke Test: The most definitive method is to introduce smoke from a smoke machine (or a DIY equivalent) into the intake system and watch for where it escapes.
Fixing a vacuum leak often just requires replacing a small section of hose or a brittle vacuum cap, instantly restoring lost performance and fuel economy for a minimal cost.
When to Use Fuel Injector Cleaner: The Mileage Interval That Actually Matters
The shelves of auto parts stores are filled with bottles of fuel injector cleaner, each promising to restore lost power and fuel economy. While not a cure-all, these additives can be a useful part of a preventative maintenance routine, but their effectiveness depends entirely on *when* and *why* you use them. It’s crucial to distinguish between maintenance and repair. Most « in-tank » cleaners are detergents designed to prevent the slow buildup of carbon deposits on injector tips.
For a modern vehicle, especially one that sees a lot of city driving (short trips), using a quality fuel system cleaner containing Polyetheramine (PEA) is a good preventative measure. PEA is a robust detergent effective at cleaning deposits in high-heat conditions. However, using it with every tank is unnecessary and a waste of money. A more sensible and effective interval is to use one bottle every 5,000 to 7,500 miles, or roughly with every other oil change. This is frequent enough to prevent significant buildup without overspending.
It’s important to have realistic expectations. If your injectors are already severely clogged, causing noticeable misfires or rough running, a bottle of in-tank cleaner is unlikely to solve the problem. In such cases, a professional fuel injection cleaning service, which forces a concentrated cleaning solution directly through the injectors, is required. Think of the bottled additives as daily brushing for your teeth, and the professional service as a deep cleaning from a dentist—one is for maintenance, the other for fixing an existing problem.
How to Use Fuel Trim Data to Diagnose a Vacuum Leak?
If you suspect a vacuum leak but can’t find it visually, your car’s own diagnostic data can point you in the right direction. Using even a basic OBD2 scanner that can display live data, you can look at a parameter called « fuel trim. » Fuel trims—both Short Term (STFT) and Long Term (LTFT)—show in real-time how much fuel the ECU is adding or subtracting to maintain the ideal air-fuel ratio. They are the single most powerful tool for diagnosing unmetered air leaks.
When there’s a vacuum leak, unmetered air enters the engine, creating a lean condition. The ECU sees this via the O2 sensor and compensates by adding more fuel. This compensation is reflected as a positive fuel trim value. A healthy engine will have fuel trims close to 0%. Values that are consistently +10% or higher at idle are a strong indication of a vacuum leak. As the expert source FleetRabbit notes in their diagnostic guide:
Vacuum leaks create high positive fuel trim at idle that decreases with RPM.
– FleetRabbit Diagnostic Guide, How to Read Fuel Trim with an OBD-II Scanner
This insight is the key to confirming the diagnosis. A vacuum leak is a fixed physical size. At idle, when the engine isn’t consuming much air, that leak represents a large percentage of the total airflow. As you raise the RPM, the engine pulls in much more air, and the leak becomes a tiny, insignificant fraction of the total. Therefore, the fuel trims will drop back toward 0% at higher RPMs, confirming a vacuum leak is the problem.
Your Action Plan: Diagnosing a Vacuum Leak with Fuel Trims
- Connect and Warm Up: Connect your OBD2 scanner and start the engine. Let it run until it reaches normal operating temperature and enters « closed-loop » mode.
- Observe Idle Trims: With the engine at idle, view the Short Term (STFT) and Long Term (LTFT) fuel trim values for Bank 1. Note if the combined value is consistently high and positive (e.g., +10% or more).
- Perform RPM Test: While monitoring the fuel trims, slowly raise and hold the engine speed at around 2,500 RPM for 30 seconds.
- Interpret the Drop: If the fuel trim values drop significantly and move back toward 0% at 2,500 RPM, you have confirmed the presence of a vacuum leak.
- Analyze Other Possibilities: If the trims remain high at all RPMs, the issue is more likely related to fuel delivery (like a weak fuel pump or clogged filter). If trims are highly negative (-10% or more), suspect a leaking fuel injector or faulty fuel pressure regulator.
The « Warm Up » Myth That Wastes Fuel on Modern Engines
Another piece of advice passed down through generations is to let your car idle for several minutes to « warm up » before driving, especially in cold weather. On an old carbureted engine, this was necessary. On a modern, fuel-injected engine, it is not only a complete waste of fuel but also counterproductive for engine health. As soon as you start your car, it operates in « open-loop » mode. In this mode, the ECU ignores the O2 sensor and deliberately runs a very rich fuel mixture to ensure the engine stays running while cold.
Idling for five minutes in your driveway forces the engine to stay in this inefficient, fuel-guzzling mode for an extended period. The fastest way to get your engine to its proper operating temperature and switch to the much more efficient « closed-loop » mode (where it uses the O2 sensor to optimize fuel) is to simply start driving it. This puts a light load on the engine, causing it to warm up much more quickly than it ever would at idle.
The correct procedure for a modern engine is to start it, wait about 30 seconds for the oil pressure to stabilize, and then begin driving gently. Avoid heavy acceleration or high RPMs for the first few miles until the temperature gauge begins to move into its normal range. This method minimizes fuel waste, reduces engine wear, and gets your car’s heating system working faster. Letting your car sit and idle is the equivalent of burning cash in your driveway.
Key Takeaways
- True fuel economy issues often hide behind « lazy » sensors and small leaks that don’t trigger a check engine light.
- Investing in quality parts like iridium spark plugs pays off through longevity and reduced strain on the ignition system.
- Learning to read basic OBD2 data, especially fuel trims, is the most powerful tool for a DIYer to diagnose consumption problems accurately.
How to Interpret « P0420 » and Other Common Codes Without a Mechanic?
Sooner or later, the dreaded check engine light will appear. One of the most common and feared codes is P0420 – « Catalyst System Efficiency Below Threshold. » The immediate assumption for many is that the catalytic converter—an expensive exhaust component—has failed and needs replacement. However, this code is often a symptom, not the root cause. Interpreting it correctly can save you from a very costly and unnecessary repair.
The P0420 code is triggered when the ECU compares the readings from the O2 sensor before the catalytic converter (upstream) and the one after it (downstream). The upstream sensor’s reading should fluctuate rapidly. The downstream sensor’s reading should be relatively stable, indicating the converter is doing its job of cleaning the exhaust. The code appears when the downstream sensor starts to mimic the fluctuations of the upstream one, meaning the catalyst is no longer efficient.
But *why* is it inefficient? Before condemning the converter, a smart diagnostician checks other causes. A simple exhaust leak can introduce oxygen and fool the downstream sensor. More importantly, a failing or lazy upstream O2 sensor can send a rich fuel mixture downstream, overwhelming the converter and causing it to fail the efficiency test. Replacing a $60 O2 sensor could resolve the code and prevent the actual failure of a $1,000+ catalytic converter. A P0420 code is not a diagnosis; it’s the beginning of an investigation that should always start with the cheapest and most likely culprits you’ve learned about here.
By learning to investigate these subtle issues, you can take control of your vehicle’s health and your fuel budget. Start today by performing a visual inspection of your engine’s hoses and, if you have one, connecting an OBD2 scanner to check your fuel trims at idle.