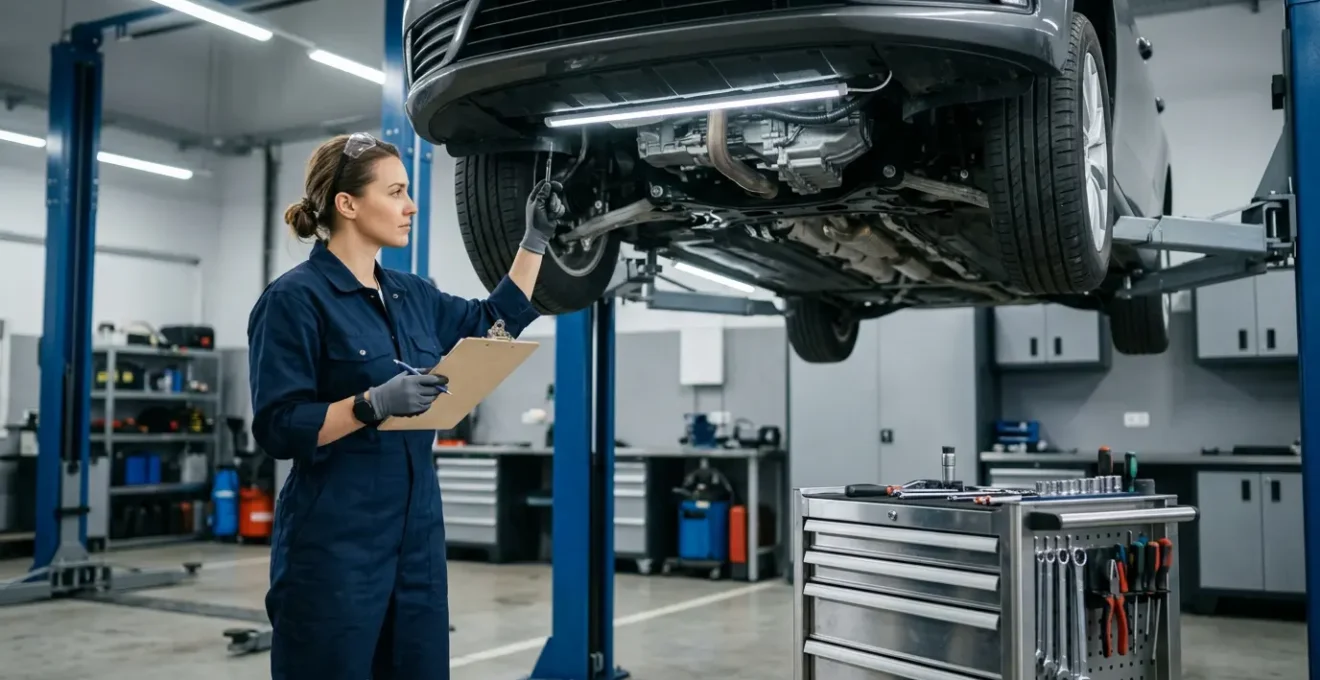
In summary:
- Focus on the top « deal-breaker » items: misaligned headlights are the #1 reason for failure.
- Learn the difference between a quick tire check (coin test) and an accurate one (gauge).
- Understand that surface rust is cosmetic, but structural rot or sharp edges are an automatic fail.
- Never disconnect your battery before an inspection; it resets critical engine monitors.
- Know the « critical vision area » on your windshield where even small cracks are forbidden.
The feeling is universal: a pit in your stomach as you hand your keys to the vehicle inspector, wondering what expensive, unforeseen issue will send you home with a rejection sticker. This anxiety is common, but largely preventable. Most drivers focus on generic advice like « top up fluids » or « check your horn, » while inspectors are trained to spot specific, high-risk failures that the average owner overlooks. The cost of a failed inspection isn’t just the re-test fee; it’s the time, stress, and potential for more expensive repairs if a problem is left to fester.
The key to passing on the first try isn’t a long, generic checklist. It’s about adopting an inspector’s mindset. This guide is built to give you that insider perspective. We will move beyond the obvious and dive into the nuanced, « deal-breaker » items that separate a pass from a fail. You will learn not just what to check, but why it fails and how to identify it yourself, often with tools you already have. Forget the anxiety of the unknown; we’re going to arm you with the specific knowledge to find and fix the 20% of problems that cause 80% of inspection failures.
This article breaks down the most critical and frequently misunderstood inspection points. By following this structured pre-check, you can approach your next inspection with the confidence of a professional, knowing you’ve already addressed the key areas that matter most for safety and legality.
Summary: How to Pre-Check Your Car to Pass the Safety Inspection on the First Try?
- Why Misaligned Headlights are the #1 Cause of Inspection Failure?
- How to Check Tire Tread Depth Using a Coin vs. a Gauge?
- Surface Rust vs. Structural Rot: What Will Fail Your Inspection?
- The Battery Disconnect Mistake That Resets Your OBD Monitors Before Inspection
- When to Fix a Cracked Windshield: The Zone That Triggers an Immediate Fail?
- Resonated vs. Straight Pipe: How to Get Sound Without Breaking Decibel Limits?
- Why Surface Rust Won’t Fail You, But Sharp Edges Will?
- How to Pass Roadworthiness Checks with High-Mileage Fleets Without Expensive Repairs?
Why Misaligned Headlights are the #1 Cause of Inspection Failure?
This is not an exaggeration. More vehicles fail for lighting issues than any other single category, and misaligned headlights are the chief culprit. It’s not about whether the bulb works; it’s about where the light is pointed. A headlight aimed too high blinds oncoming traffic, creating a serious hazard. One aimed too low severely limits your own visibility. According to safety studies, misaligned headlights can reduce visibility by 20-40%, a massive compromise in safety. An inspector will check this with a specialized optical machine, but you can perform a very effective pre-check at home.
The beam must have a sharp, clear « cutoff » line. A fuzzy or scattered beam pattern indicates a failing bulb reflector or a dirty lens, both of which are also grounds for failure. You do not need special tools to get a good idea of your alignment. Follow these precise steps for a reliable DIY test.
- Park on a flat surface facing a wall or garage door 25 feet away, ensuring the vehicle is perpendicular to the wall.
- Ensure normal load conditions – place typical weight in the driver’s seat, verify normal tire pressures, and fuel level at approximately half a tank.
- Measure the height from the ground to the center of each headlight and transfer those measurements to the wall using masking tape to create horizontal reference lines.
- Turn on low beams and observe the cutoff line – the top of the beam should hit 2-4 inches below the headlight centerline marks at a 25-foot distance.
- Check beam pattern symmetry – the left beam should point slightly downward and straight, while the right beam should be angled slightly lower and to the right, with a clear horizontal cutoff.
If your beam pattern is outside these parameters, most modern vehicles have small adjustment screws on the back of the headlight housing. Small, incremental turns are all that’s needed. Getting this right is a simple fix that eliminates the most common reason for failure.
How to Check Tire Tread Depth Using a Coin vs. a Gauge?
Tires are your only connection to the road, and an inspector treats them with the seriousness they deserve. The focus is on tread depth, which is directly linked to the tire’s ability to evacuate water and prevent hydroplaning. While the legal minimum tread depth is often 2/32 of an inch, it’s crucial to understand that at this depth, safety is severely compromised. In fact, research shows that 2/32-inch tread offers little resistance to hydroplaning at highway speeds. This is why inspectors are so strict about it.
Many people have heard of the « penny test, » but it’s important to know its limitations. For a truly accurate assessment of your tire’s health and to plan for replacement, a dedicated gauge is the superior tool. Both methods have their place, but they serve different purposes.
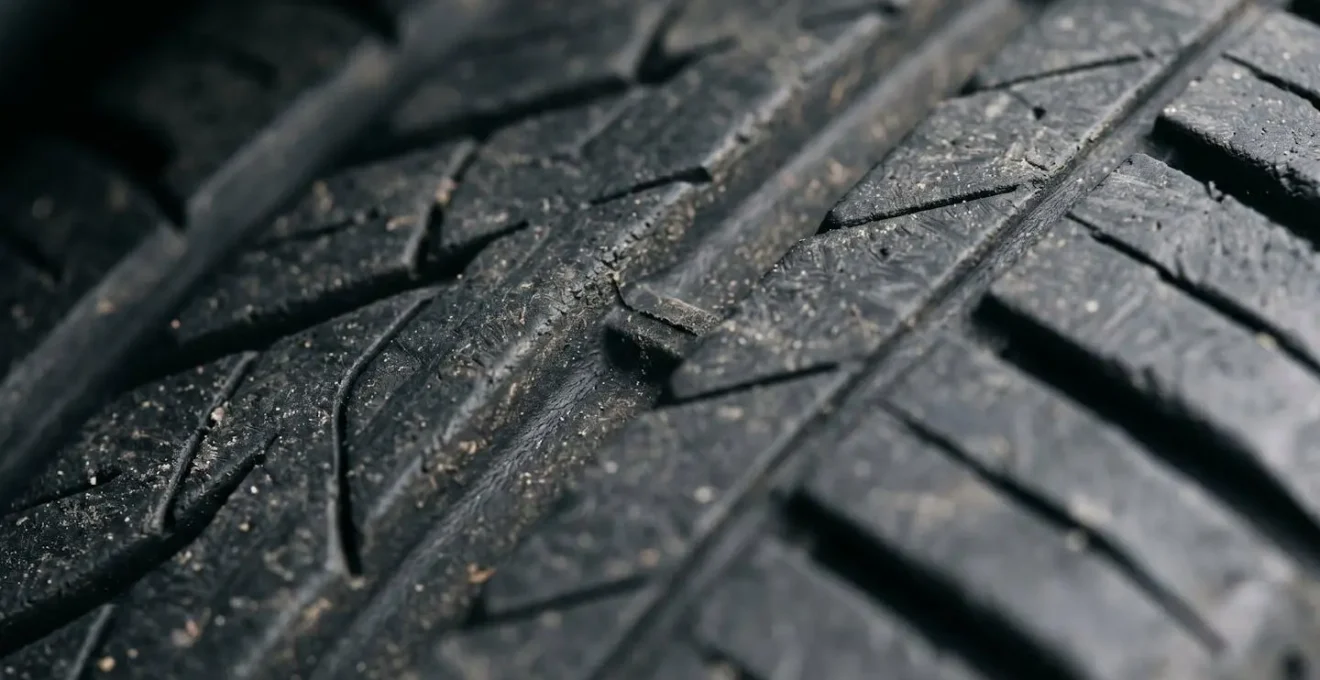
As the image above illustrates, the grooves are essential for channeling water away. The shallower they become, the less effective they are. An inspector won’t just check one spot; they will check multiple points across the tire’s width to look for uneven wear, which can indicate alignment or suspension problems—other potential failure points. Using a gauge makes this process fast and accurate.
The following table breaks down the differences between the two common methods for checking tread depth, helping you choose the right tool for the job.
| Feature | Penny Test | Tread Depth Gauge |
|---|---|---|
| Cost | Free (uses standard penny) | $5-15 at auto parts stores |
| Accuracy | Binary (pass/fail at 2/32″) | Precise measurements to 1/32″ |
| Ease of Use | Extremely simple, no training needed | Simple, requires reading scale |
| Best Use Case | Quick screening check, emergency assessment | Monitoring gradual wear, planning replacement |
| Safety Threshold Detection | Only detects legal minimum (2/32″) | Can identify recommended replacement at 4/32″ |
| Multiple Measurement Points | Possible but time-consuming | Fast and efficient for checking uneven wear |
| Limitations | Cannot detect recommended safety limit of 4/32″ | Requires purchasing tool, slightly more complex |
Surface Rust vs. Structural Rot: What Will Fail Your Inspection?
This is one of the most misunderstood areas of a vehicle inspection. A driver sees a bubble of rust on a fender and panics, while an inspector might ignore it completely. Conversely, a seemingly minor spot of rust underneath the car can be a « deal-breaker » that triggers an immediate failure. The difference is cosmetic vs. structural. Surface rust on a replaceable body panel like a door or fender is an aesthetic issue, not a safety one. Structural rot on the vehicle’s frame or key mounting points is a critical safety hazard.
An inspector is trained to look for rust that compromises the vehicle’s ability to protect its occupants in a crash. When key components are weakened by rust, they can no longer absorb or redirect impact energy as designed. Automotive safety experts confirm that severe rust that weakens frame rails or floor pans compromises vehicle integrity as much as collision damage. Holes in the floor pan are also an automatic fail because they can allow deadly exhaust fumes like carbon monoxide to enter the passenger cabin.
You need to know where to look for this dangerous, failure-causing rot. A small pocketknife or screwdriver is a useful tool; if you can poke it and it goes through the metal or big flakes fall off, you have a structural problem. Focus your attention on the zones that matter most to an inspector.
Your 5-Point Structural Rust Audit:
- Frame Rails: Inspect the main longitudinal beams running under the vehicle – these are primary load-bearing structures where rust perforation causes automatic inspection failure.
- Subframe and Engine Cradle: Check suspension and engine mounting points for rust holes or severe flaking, as compromised subframe integrity affects steering and crash protection.
- Shock Towers and Suspension Mounting Points: Examine where struts and control arms attach to the body – rust here can cause suspension collapse under stress.
- Rocker Panels: Inspect the structural reinforcement beneath door sills – these contribute to side-impact protection and can hide severe internal rust behind surface corrosion.
- Floor Pans: Check under carpets and seats for rust perforation – holes compromise passenger compartment structural rigidity and allow exhaust fumes to enter the cabin.
The Battery Disconnect Mistake That Resets Your OBD Monitors Before Inspection
This is a modern, self-inflicted wound that causes countless inspection failures, especially for emissions or « smog » checks. Your car’s computer, the Engine Control Unit (ECU), runs a series of continuous self-tests on various systems like the catalytic converter, oxygen sensors, and evaporative emissions system. These are called On-Board Diagnostics (OBD) monitors. For the vehicle to pass inspection, a certain number of these monitors must have completed their self-tests and report a « Ready » status to the inspector’s scanner.
Here’s the mistake: many well-intentioned drivers, trying to clear a « Check Engine » light, will disconnect the battery. While this does turn the light off temporarily, it also completely erases the memory of the ECU. This resets all the OBD monitors to a « Not Ready » status. When the inspector plugs in their scanner and sees « Not Ready, » it’s an automatic fail. They cannot proceed because the car hasn’t proven its systems are working correctly.
If you’ve had to disconnect the battery or have recently cleared a code, you must perform a « drive cycle » to get the monitors ready again. A specific drive cycle varies by manufacturer, but a general one involves:
- A cold start.
- A period of city driving with several stops and starts.
- A period of steady-state highway driving (e.g., 55-60 mph for 10-15 minutes).
- A period of deceleration without using the brakes.
This allows the ECU to run its tests. You can buy an inexpensive OBD2 scanner to check the monitor status yourself before going to the inspection station. A « Ready » status is your green light.
When to Fix a Cracked Windshield: The Zone That Triggers an Immediate Fail?
A small stone chip or a crack in the corner of the windshield might seem minor, but its location is everything. Inspectors don’t just look for cracks; they look for cracks in specific, legally defined areas. The most important of these is the driver’s primary viewing area, sometimes called the « critical vision area » or Zone A. This is the section of the windshield directly in front of the driver that is cleared by the wipers.
Any chip, crack, or star that obstructs the driver’s view in this zone is an immediate and non-negotiable failure. The reason is simple: it can distract the driver or obscure a potential hazard like a pedestrian or another vehicle. Even a small imperfection can catch the light in a way that creates a dangerous glare. There is zero tolerance for damage in this area. A crack that is an inch long in the center of the driver’s view is a fail, while a six-inch crack along the passenger-side edge might be perfectly acceptable.
How do you define this zone on your own vehicle? Sit in the driver’s seat in your normal driving position. The area swept by your driver-side wiper blade is the critical zone. Look from the inside out and the outside in. Pay close attention to the lower portion, where the crack might be hidden from a casual glance by the dashboard. If you find any damage—even a small « bullseye » from a stone—that falls within that wiper’s path, it must be repaired or the windshield replaced before your inspection. Outside of this critical area, rules are often more lenient, allowing for smaller cracks or repairs, but inside it, the standard is perfection.
Resonated vs. Straight Pipe: How to Get Sound Without Breaking Decibel Limits?
The sound of an exhaust system is a common point of contention at an inspection station. The inspector’s job is not to be a critic of your car’s tone but to enforce two key rules: the system must be free of leaks, and it must comply with local noise regulations. The « straight pipe » modification—removing mufflers and resonators—is a guaranteed way to fail on both counts. It’s not just loud; it’s a modification that removes federally mandated emissions and noise control equipment.
A more nuanced approach involves understanding the role of a resonator. A muffler is designed to reduce the overall volume (decibels) of the exhaust note. A resonator, on the other hand, is designed to cancel out specific, undesirable frequencies—often the droning or « raspy » sounds that occur at certain RPMs. Many enthusiasts who want a more aggressive sound without attracting a ticket or failing inspection will replace the factory muffler with a less restrictive aftermarket one while keeping or even upgrading the resonator. This can produce a deeper, more pleasing tone without being excessively loud.
From an inspector’s perspective, the key is compliance. They will perform a visual check for a catalytic converter and muffler. If they are missing, it’s a fail. They will then assess the noise level. Some jurisdictions use a calibrated decibel meter, while others use a more subjective « louder than stock » standard. The safest path is to choose a high-quality, « cat-back » aftermarket system from a reputable brand that is advertised as being compliant with noise laws. A « straight pipe » is not a performance upgrade; it’s a ticket and an inspection failure waiting to happen. A resonated system offers a smart compromise between sound and legality.
Key takeaways
- An inspector’s job is to identify non-obvious safety issues. Think like they do: focus on structural integrity, clear driver vision, and predictable vehicle systems.
- The most common failures (headlights, tires, OBD monitors) are also the easiest and cheapest to pre-check and fix yourself.
- Differentiating between a cosmetic flaw (surface rust) and a safety-critical defect (structural rot, sharp edges) is the most important « insider » knowledge you can have.
Why Surface Rust Won’t Fail You, But Sharp Edges Will?
Building on the topic of rust, there’s another critical distinction an inspector makes that is often missed by drivers: the danger of sharp edges. While we established that surface rust on a door is a cosmetic issue, the situation changes when that rust progresses to the point of perforation, especially on the outer edges of the vehicle like fenders, rocker panels, and bumper surrounds.
The inspector’s concern here shifts from vehicle structural integrity to pedestrian safety. A rusted-out lower fender or rocker panel can create a sharp, jagged edge of metal. In a low-speed incident involving a pedestrian or cyclist, this sharp edge can cause a significantly more severe injury than a smooth, intact body panel would. It can act like a knife, turning a minor bump into a serious laceration. This is a liability and a clear safety hazard that will result in an immediate inspection failure.
Therefore, the rule is simple: walk around your vehicle at knee-height. Look at the wheel arches, the bottom of the doors, and the corners of your bumpers. Is there any rust that has eaten through the metal, creating a protruding or sharp edge you could snag your clothing on? If so, that is a fail. The fix doesn’t have to be a professional body shop repair to pass inspection. Even a temporary but safe repair—such as grinding down the sharp edge and covering it securely with a patch or a durable tape—can be enough to remove the immediate hazard and satisfy the inspector. The goal is to eliminate the sharp edge.
How to Pass Roadworthiness Checks with High-Mileage Fleets Without Expensive Repairs?
While the title mentions « fleets, » the principle is universal and applies directly to any driver of a high-mileage vehicle: the secret to passing inspections reliably and affordably is proactive pre-checking, not reactive repairing. The mindset of a fleet manager is to maximize uptime and minimize cost, and you can adopt this same professional strategy for your personal vehicle. It’s about shifting your perspective from a dreaded annual event to a continuous state of roadworthiness.
A high-mileage car is not necessarily an unsafe car. The key is consistent maintenance and addressing small issues before they become large, expensive, inspection-failing problems. The entire process outlined in this guide—checking headlight alignment, monitoring tire wear with a gauge, knowing the difference between surface and structural rust, understanding your OBD system, and keeping your windshield clear—is the foundation of this strategy. These checks cost little to nothing in time or money but save you hundreds or even thousands in potential repair bills and re-inspection fees.
Instead of waiting for the inspection notice to arrive and then scrambling, integrate these checks into your routine. When you wash your car, do a quick walk-around for sharp edges. Once a month when checking tire pressure, use a gauge to check tread depth. Adopting this « inspector’s mindset » as your own means you are never surprised. You catch the tire wear before it becomes a blowout risk, you fix the stone chip before it cracks across the entire windshield, and you replace the failing bulb before it gets you a ticket and a failed inspection. This is the ultimate way to pass your inspection on the first try, every time, without breaking the bank.
Begin implementing these professional-grade pre-checks today to ensure your vehicle is not only ready for its next inspection but is safer and more reliable for every mile in between.